
|
2/19/2021 0 Comments Wrapping Up MechanicalWe're excited to share the progress we've made this week as we're beginning to wrap up the mechanical portion of our robot. With all the components now in hand, we started with building up each leg by putting together the 3D printed parts with the motors: 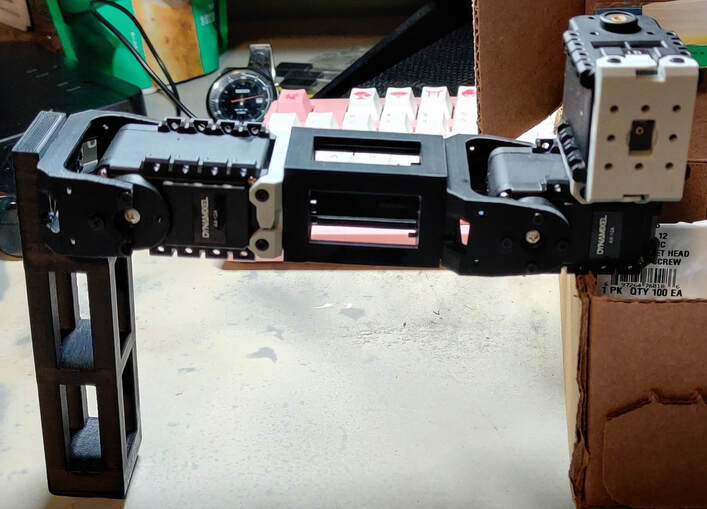 We constructed this build for all six legs, and brought them together with the chassis of the robot. This resulted in a first initial look at what our robot will look like. Since our intention is for delivery, we added a sample payload (i.e., a plant) to show how its delivery items would be positioned. Of course, we still have to integrate the electrical components, but this is just a taste of what's to come: As you can see, all six legs are now situated at the bottom of each corner of our hexagonal chassis. In the chassis are several cutouts which will house the electrical components and manage the wiring between the controller, various sensors, power supply, and motors. Later on, the goal is to add a casing which will house the payload and keep it safe from the robot's components and outside environment. To get an idea of its size, here it is with all its legs fully elongated, standing next to a couch:  It is able to stand straight up on its own which is a good sign. Also, as you can see, it is more than large enough to be able to carry our desired payloads to achieve the goals of the project, so we're pretty excited about that. Lastly, we wanted to try something fun: our project mentors already know this, but back when we were in our third year of engineering, we actually did a similar project for our MTE 380 - Mechatronics Engineering Design Workshop course. It was a much smaller, scaled-down version of what we are doing now, with less features and a different objective, but the underlying design is similar. So, here it is, our smaller hexapod robot riding the back of our current robot: We're happy with the progress we've made thus far. Now, we plan to begin the electrical side of the robot: get all the parts and components together, integrate them into chassis, and start wiring and connecting things up. We'll provide an update next week, as well as every subsequent week, until the completion of our project. Thanks for reading!
0 Comments
Leave a Reply. |
Search by typing & pressing enter
